


Table of contents
There is no doubt that Midjourney is currently the leading tool for AI image generation out there. However, people who don't generate AI images daily may find the cost of their subscription a bit too much. So you can seek alternatives, but that's not what real developers do. We build our very own alternatives! Luckily, using Supabase Storage, Supabase Edge Functions and Hugging Face we can build an alternative to Midjourney in minutes. Let me show you how.
Setup
1) Open your Supabase project dashboard or create a new project.
2) Create a new bucket called images.
3) Create a new database table called image_generation. You can make use of Supabase's integrated AI assistant by passing the prompt: “New table called image generation with id uuid, input text”. This is cool to get the proper SQL structure in place, you will probably need to adjust some labels and attributes, but that's what my SQL query looked like in the end.
create table
  image_generation (
    id uuid primary key default gen_random_uuid (),
    input text,
  );
4) Set up a directory for all of your future edge functions under /supabase
5) Install Supabase CLI if you haven't done it yet
6) Create a new folder under /supabase/huggingface-image-generation
7) Inside that folder, create index.ts (this is where our code is going) and generate TypeScript types from the remote database using the following command (replace your-project-ref with your project reference).
supabase gen types typescript --project-id=your-project-ref --schema=storage,public > ./types.ts
Hugging Face
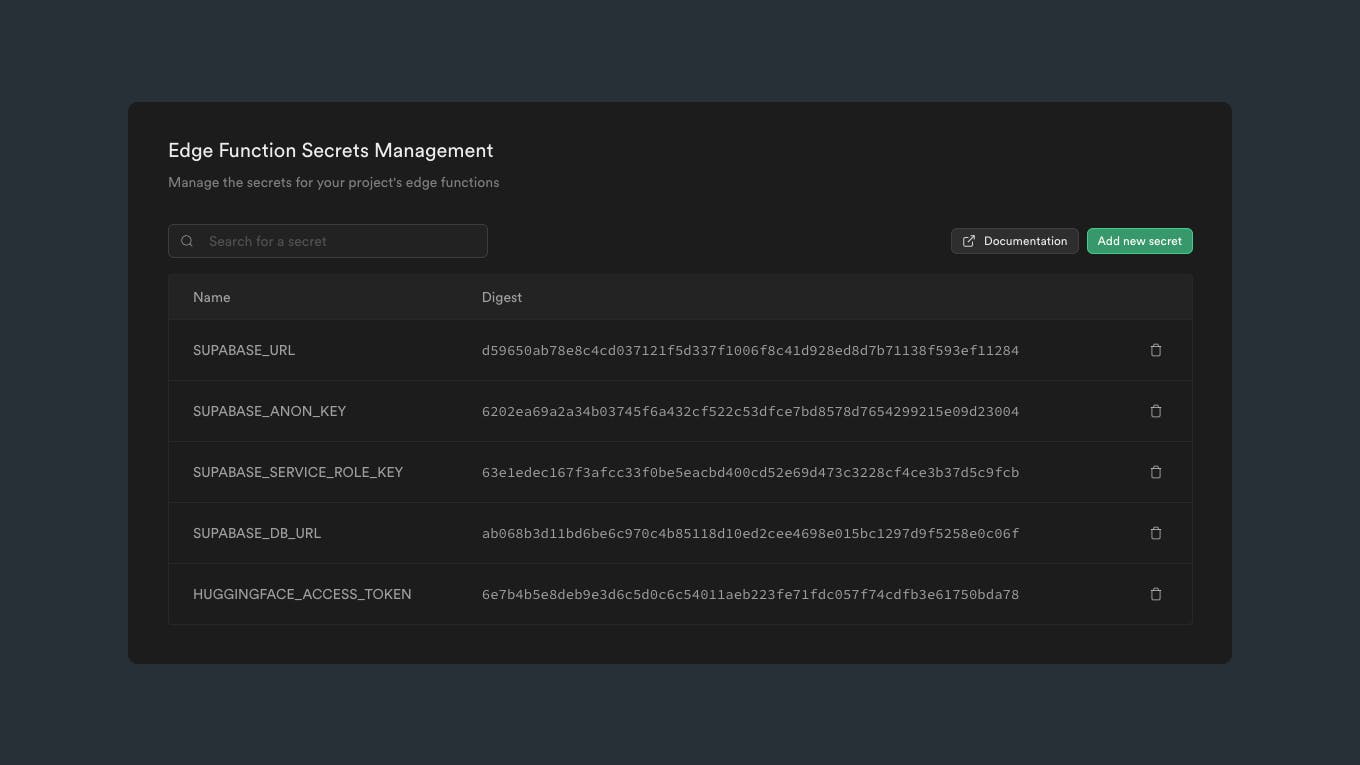
Sign up on Hugging Face if you haven't done it yet. Generate a new Access Token under Settings/Access Token. Under Edge Function/Manage Secrets on Supabase add a new secret HUGGINGFACE_ACCESS_TOKEN and paste your secret there. As you can see, Supabase has already taken care of other secrets we will need in our application.
Code Breakdown
First, we import all Deno modules we will need in our application, followed up by declaring our hf constant we will use to access Hugging Face models later.
import { serve } from 'https://deno.land/std@0.168.0/http/server.ts'
import { HfInference } from 'https://esm.sh/@huggingface/inference@2.3.2'
import { createClient } from 'https://esm.sh/@supabase/supabase-js@2.7.1'
import { Database } from './types.ts'

const hf = new HfInference(Deno.env.get('HUGGINGFACE_ACCESS_TOKEN'))
Next, we declare the interface of our webhook payload.
type inputRecord = Database['public']['Tables']['image_generation']['Row']
interface WebhookPayload {
  type: 'INSERT' | 'UPDATE' | 'DELETE'
  table: string
  record: inputRecord
  schema: 'public'
  old_record: null | inputRecord
}
Now let's get the input from our payload and set up the Supabase Client to interact with our database.
serve(async (req) => {
  const payload: WebhookPayload = await req.json()
  const inputRecord = payload.record
  const supabaseAdminClient = createClient<Database>(
    Deno.env.get('SUPABASE_URL') ?? '',
    Deno.env.get('SUPABASE_SERVICE_ROLE_KEY') ?? ''
  )

/* ... */
Let's generate the image using the model stabilityai/stable-diffusion-2. Feel free to try out other models later on, Hugging Face has a lot of them.
/* ... */

  const imgDesc = await hf.textToImage({
    inputs: inputRecord.input,
    model: 'stabilityai/stable-diffusion-2',
    parameters: {
        negative_prompt: 'blurry',
    }
  })

/* ... */
In the end, we upload the image to Supabase Storage together with inputRecord.id, so we will have a reference to the input. Finally, we return a response. Our code looks in the end like this.
import { serve } from 'https://deno.land/std@0.168.0/http/server.ts'
import { HfInference } from 'https://esm.sh/@huggingface/inference@2.3.2'
import { createClient } from 'https://esm.sh/@supabase/supabase-js@2.7.1'
import { Database } from './types.ts'

const hf = new HfInference(Deno.env.get('HUGGINGFACE_ACCESS_TOKEN'))

// Input WebHook

type inputRecord = Database['public']['Tables']['image_generation']['Row']
interface WebhookPayload {
  type: 'INSERT' | 'UPDATE' | 'DELETE'
  table: string
  record: inputRecord
  schema: 'public'
  old_record: null | inputRecord
}

// Start the server

serve(async (req) => {
  const payload: WebhookPayload = await req.json()
  const inputRecord = payload.record
  const supabaseAdminClient = createClient<Database>(
    Deno.env.get('SUPABASE_URL') ?? '',
    Deno.env.get('SUPABASE_SERVICE_ROLE_KEY') ?? ''
  )

  // Generate the image using Hugging Face's API

  const imgDesc = await hf.textToImage({
    inputs: inputRecord.input,
    model: 'stabilityai/stable-diffusion-2',
    parameters: {
        negative_prompt: 'blurry',
    }
  })

  // Upload the image to Supabase Storage

  const {data, error} = await supabaseAdminClient
    .storage
    .from('images')
    .upload(inputRecord.id, imgDesc, {
      cacheControl: '3600',
      upsert: true
    })

  if (error) console.log(error)
  if (data) console.log(data)

  return new Response('ok')
})
Deployment
To see our edge function in action, we have to deploy it to Supabase. For that, we run the following command.
supabase functions deploy huggingface-image-generator
Last but not least, we have to set up the webhook we referenced in our code.

Demo
Now that it's done. Here's the demo of how it works. Sorry for the quality, I recorded it on a toaster.
Thanks for reading! ❤️ This article is part of the AI Content Storm by Supabase. If you want to be the first one to see my next article, follow me on Hashnode and Twitter!