


Without doubt, one of the most iconic characters in video game history is Mario. First he appeared in Donkey Kong (1981) before receiving his own game just four years later. This game became a massive success, so I'm pretty sure that you've seen, heard or even played it. Although it came out a long time before I was born, I still played it a couple of times. And is there any better way to pay homage to a legendary game than creating a CSS art for it?
Preparation
First, I came up with the script for the animation.
Mario is standing on a platform. He's approached by Goomba. When Goomba touches him, Mario dies in his iconic way (move up and then drop down). Whole animation loops and starts from the beginning.
As with my last CSS art, I had to find a template to orientate myself. Last time it was my ukulele. I don't have any Mario merchandise lying around, so I went on the internet. I found original sprites of Mario's animation, so I decided to use these as well as sprites for Goomba's animation.
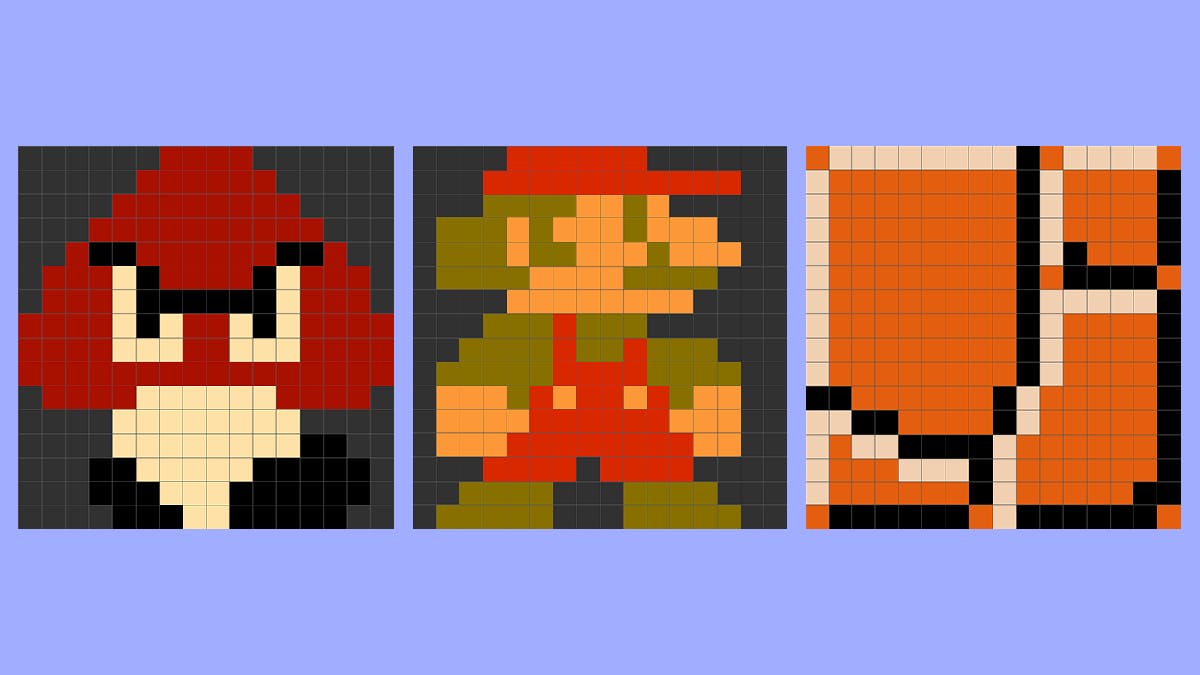
Now it was clear, I had to create two images of Goomba, two images of Mario as well as an image of a platform, so five images in total.
Pixel Art
The game which comes from 1985 isn't unexpected to be made using pixel art, so I went for this approach for my CSS art as well. The best way to create pixel art in CSS is using box shadows. Although it's the best choice, it's not the easiest one if you have to do it by hand. You'll need to fill out box shadows for every pixel and filling out 16x16 fields could be pretty intimidating and boring.
Luckily, there is a great website called Pixel Art to CSS which takes all the dirty work away and only leaves you with the creative process.
After drawing the characters and frames for their animation, I exported them as key frames into the project. I tried to do the same with the ground, but its size in comparison to the characters was too big, so I went with key frames for the ground as well. But because it had only one frame, it didn't make any difference visually. The scale was now fixed, so I counted that as a win.
Placement and Animation
Now the only thing left to do was placing our elements and animating them. For every element, I created a div to which I assigned the specific CSS class. I placed them on the screen like this using absolute position, as it was the easiest choice in this situation.
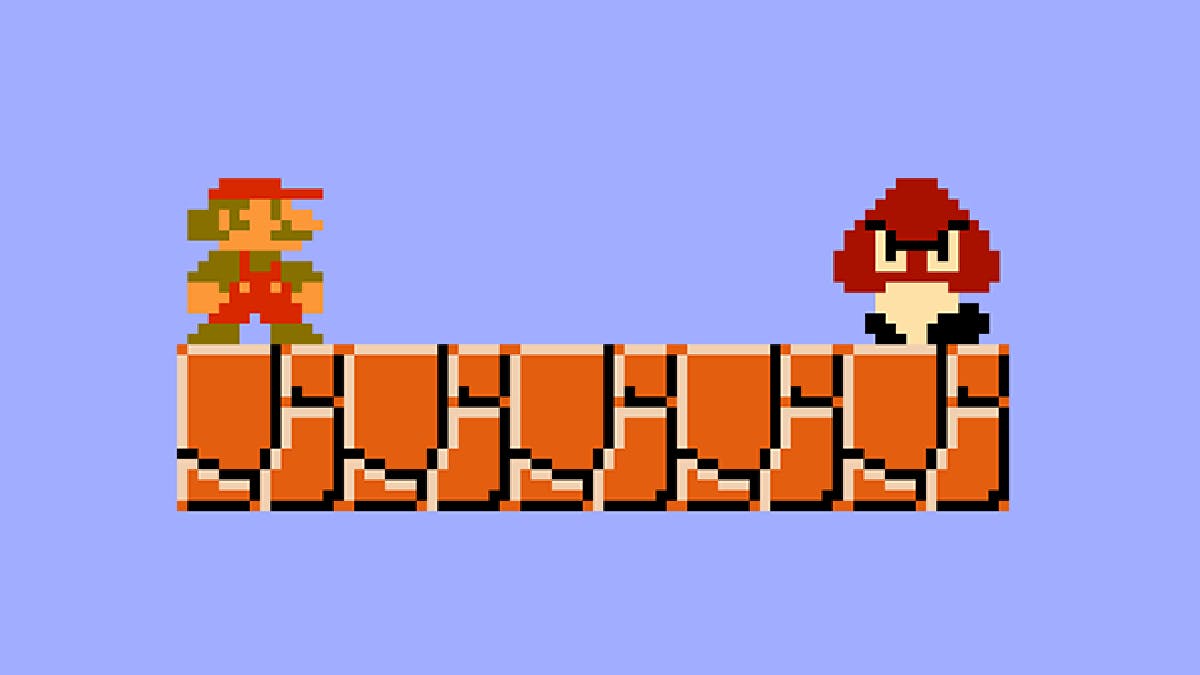
Last but not least are walking animation for Goomba and death animation for Mario. Using key frames, I mapped two points between which Goomba is going to walk (start of the platform and end of the platform). While in between, I timed the point when Goomba slightly touches Mario and that's when Mario's death animation should begin. To create the animation as well as to time it properly, I broke down the animation into three parts.
Part One: Mario flies up
Part Two: Mario falls down
Part Three: Mario goes back up
That's pretty much it. From this point the animation loops back to beginning and as everyone knows a loop in an animation makes everything two times better.
You can find the whole animation and code on the dedicated CodePen page for this project.
Thanks for reading and have a great day! ♥
If you liked this article, consider following me on Twitter. I post tips around web development and progress on my projects. If you have any questions, my DMs on Twitter are always open.